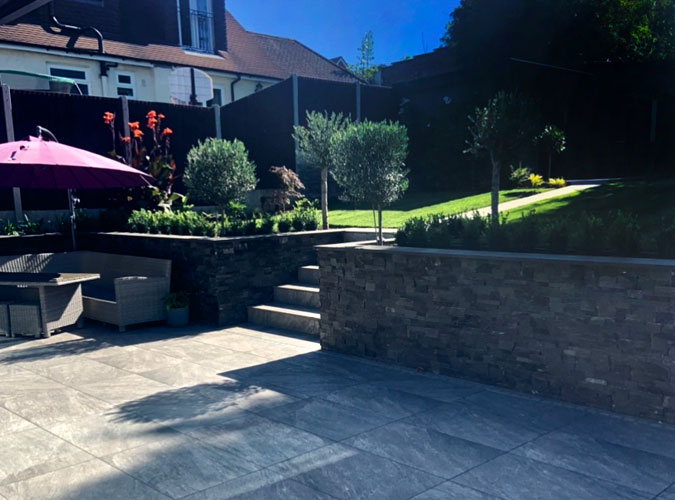
"I apologise I have not got in touch with you sooner, I have some time off at the moment to catch up and send you our photos and brief blog of our finished Rustik™ Stone Cladded wall. We have had such great feedback from everyone that has seen the wall and my wife has had a local magazine wanting to come over in the New Year to do a piece on our property where we will be recommending the stone from Norstone."
The client's real-world installation guide:
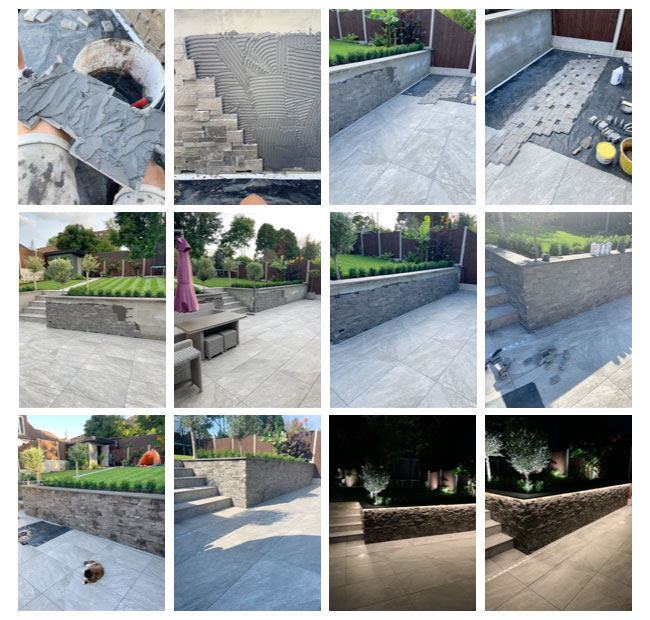
Firstly I fitted a capping on top of the block retaining wall with a 100mm overhang, approximately. This was so I could allow a Led strip to be fitted underneath without being seen.
I then tanked the retaining block wall with a tanking slurry to damp proof, giving the wall two coats and left to dry completely over a 2 week period, I used KA tanking slurry.
I then mixed adhesive with latex additive to make a durable adhesive. I then serrated the wall using a 10mm notched trowel. I buttered the back of the rustic stone panel with a thin layer of my adhesive and applied to the wall using pressure.
I was coming off of a level floor so I used 4mm spacers to put the first line of panels on so they wouldn’t sit on water. I just worked my way up the wall, applying the key stones as I went.
Some of the panels were slightly sizey so I had to adjust using an angle grinder. Once the job was complete, we allowed 24 hours to set.
We applied 2 coats of natural stone sealer on the stone to hopefully prevent any future greening, so far so good. It made the stone look slightly darker, which we liked and brought out all the stones natural veins also, which I think gave it more character.


 RSS Feed

